I have a lot of scraps from discontinued upholstery and drapery samples and am happy to have found a use for them.
If you’re not into sewing, just skip over this next part and go to the end of the post after the photo.
*****
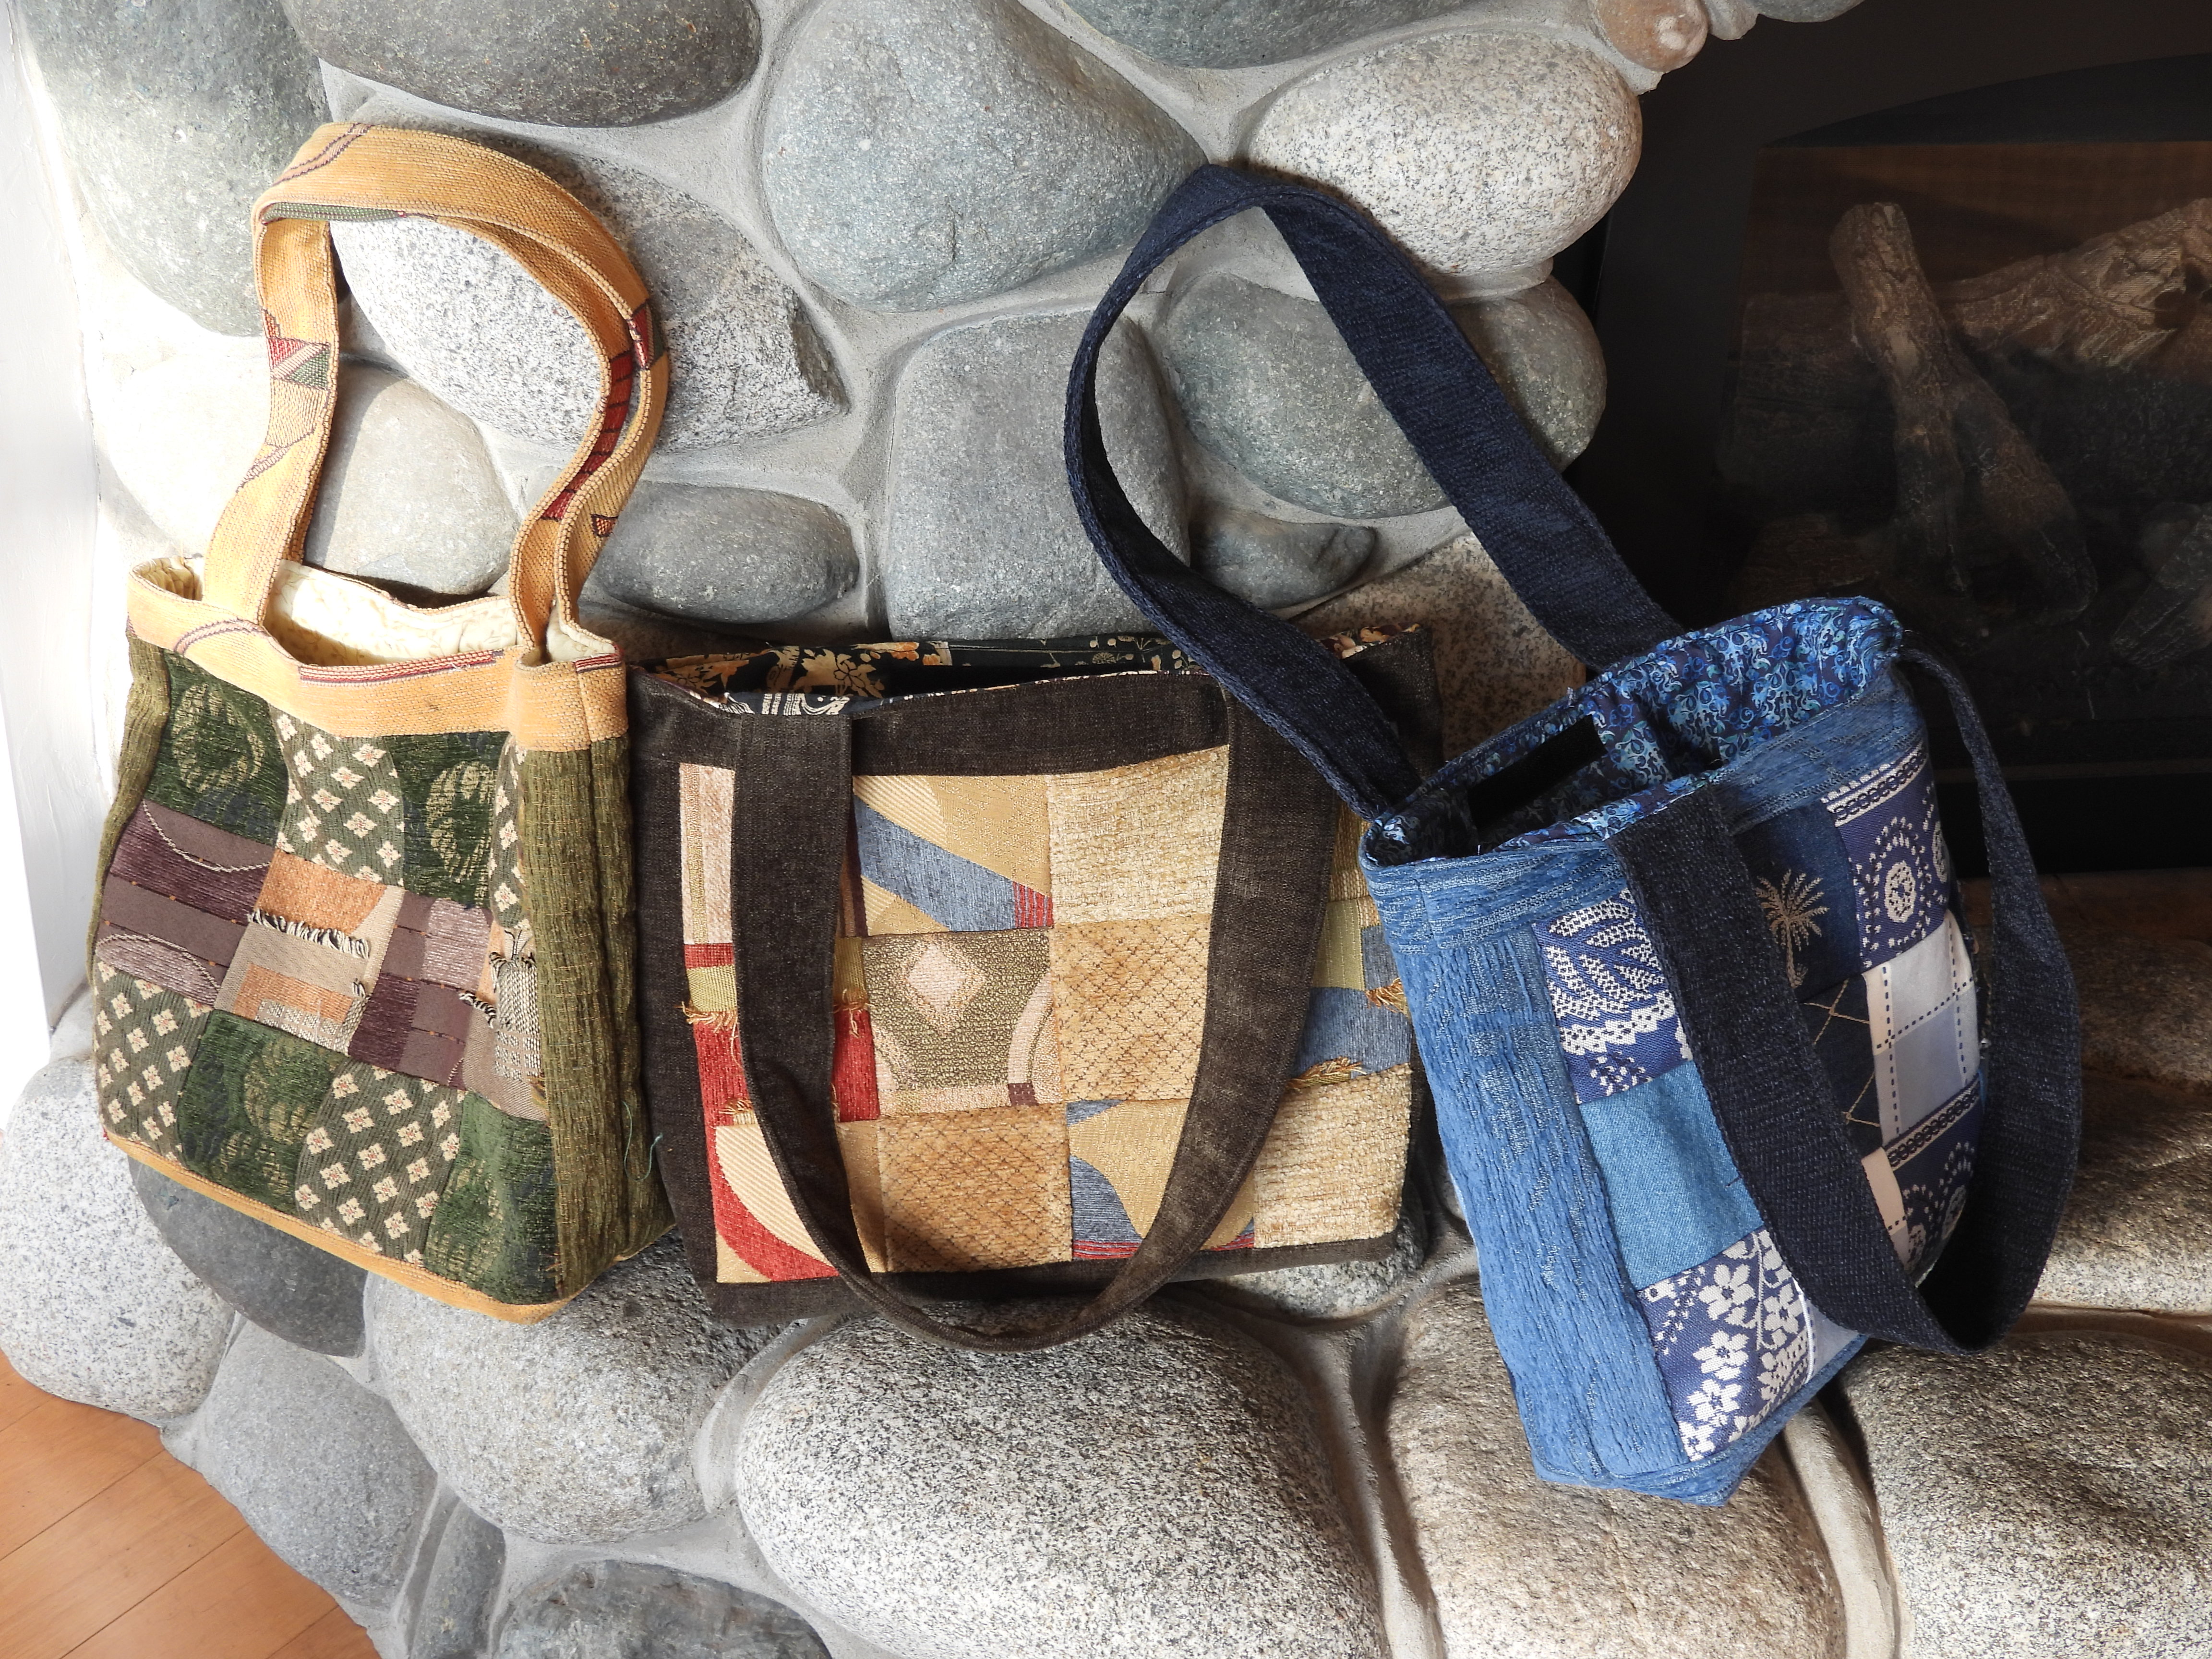
Each side panel of the bags has three rows of four 4″ squares.
The sides have a strip of 2 1/2″ by about 11″ (depending on the height of your panel). The top has a 2 1/2″ strip that is about 18″ long (again, you’d measure your bag that now has the strips on each side of the panels). The bottom strip is the same length but it’s 3 1/2″ wide.
There’s a lot more to do to put the sides together, cut out a 2″ corner to make a flat part in the bottom. There’s interfacing to use as a stiffener on the panels, and then a lining to fit the inside of the bag. Pockets on the inside of the bag are nice too. The straps with interfacing in them are pieces that are 5″ by 28″ folded over and sewn.
The tricky part is to get the straps to be between the outside of the bag and the lining inside. But that’s the fun of putting it all together.
There are lots of videos that show how it’s done, but the best thing is if you can go to a sewing class put on by your local sewing store.
Don’t ask me how many needles I broke going over some of the thickest parts of the fabric, especially where the handles attach. It’s worth it though.
These bags are fun to make because no two are exactly alike.
